|
Ingredients
Directions
Shrimp Pasta Salad is a Mad Dog & Merrill® Original Recipe from Episode Thirteen of the 2021 Season of the Midwest Grill'n Show. Watch "Green Lake" for this great recipe from America's Favorite Grill'n Show and More! Episode recipes include Parmesan Veggies, Party Wings, Chicken Mop Sauce, Shrimp Pasta Salad, Citrus Dressing, Italian Wedges and Sangria. Download the E-Book by visiting the Mad Dog & Merrill Online Store and become a Lifetime Member of the Mad Dog & Merrill® Grill'n Club to gain FREE access to all episode E-Books.
Mad Dog & Merrill® only endorse the highest quality of products and services.
What kind of grills do Mad Dog & Merrill® use? Our favorite grills include Pit Boss Pellet Grills and Louisiana Grills. Where can the products used on the Midwest Grill'n show be found? Cherry De-Lite from Country Ovens, Sun Drop Soda, Awesome Shrimp, and Wisconsin Potatoes. Help us thank our sponsors by patronizing their local business, such as Shooting Star Casino. Produced by Lashbro Visual Communications.
0 Comments
Ingredients
Sloshing Sauce
Directions
Parmesan Veggies is a Mad Dog & Merrill® Original Recipe from Episode Thirteen of the 2021 Season of the Midwest Grill'n Show. Watch "Green Lake" for this great recipe from America's Favorite Grill'n Show and More! Episode recipes include Parmesan Veggies, Party Wings, Chicken Mop Sauce, Shrimp Pasta Salad, Citrus Dressing, Italian Wedges and Sangria. Download the E-Book by visiting the Mad Dog & Merrill Online Store and become a Lifetime Member of the Mad Dog & Merrill® Grill'n Club to gain FREE access to all episode E-Books.
Mad Dog & Merrill® only endorse the highest quality of products and services.
What kind of grills do Mad Dog & Merrill® use? Our favorite grills include Pit Boss Pellet Grills and Louisiana Grills. Where can the products used on the Midwest Grill'n show be found? Cherry De-Lite from Country Ovens, Sun Drop Soda, Awesome Shrimp, and Wisconsin Potatoes. Help us thank our sponsors by patronizing their local business, such as Shooting Star Casino. Produced by Lashbro Visual Communications. Ingredients
Directions
Cauliflower Head is a Mad Dog & Merrill® Original Recipe from Episode Eleven of the 2021 Season of the Midwest Grill'n Show. Watch "MirroCraft" for this great recipe from America's Favorite Grill'n Show and More! Episode recipes include Wine Castle Burgers, Grilled Round Steak, Cauliflower Head, Cranberry Ham Steak, Pineapple Wedges, Roquefort Pears . Download the E-Book by visiting the Mad Dog & Merrill Online Store and become a Lifetime Member of the Mad Dog & Merrill® Grill'n Club to gain FREE access to all episode E-Books.
Mad Dog & Merrill® only endorse the highest quality of products and services.
What kind of grills do Mad Dog & Merrill® use? Our favorite grills include Pit Boss Pellet Grills and Louisiana Grills. Where can the products used on the Midwest Grill'n show be found? Cherry De-Lite from Country Ovens, Sun Drop Soda, Awesome Shrimp, and Wisconsin Potatoes. Help us thank our sponsors by patronizing their local business, such as Shooting Star Casino. Produced by Lashbro Visual Communications. Ingredients
Directions
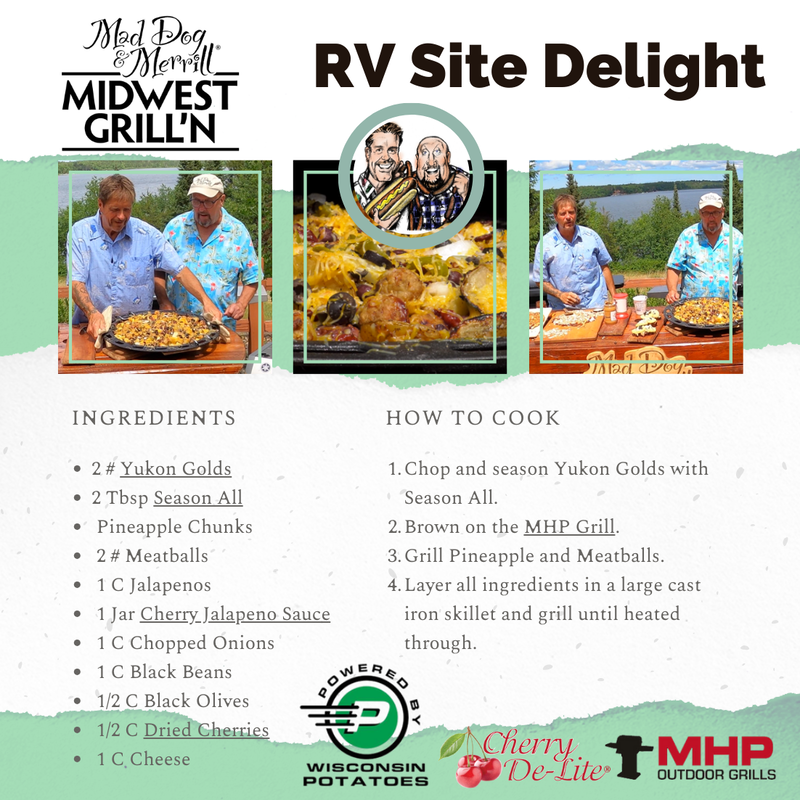
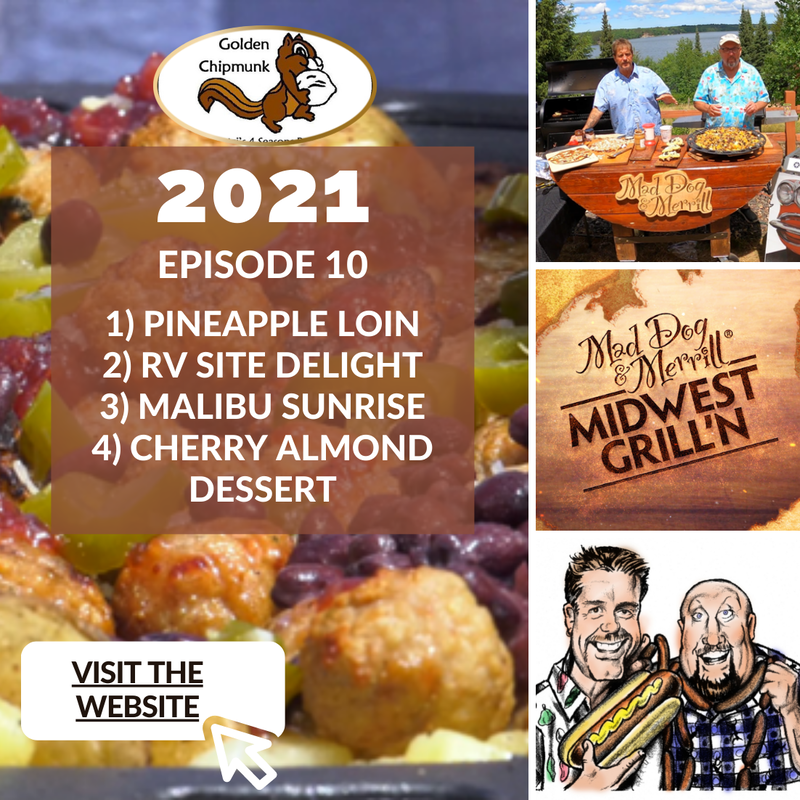
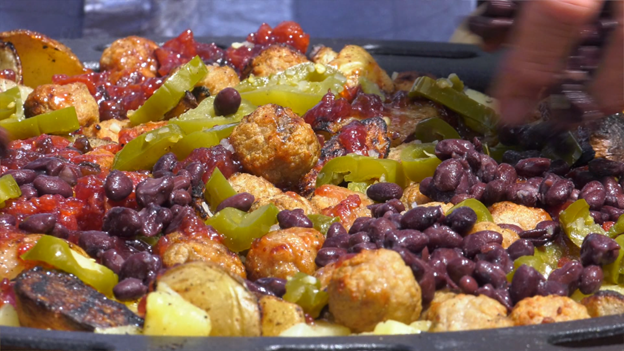
RV Site Delight is a Mad Dog & Merrill® Original Recipe from Episode Ten of the 2021 Season of the Midwest Grill'n Show. Watch "Schatzi" for this great recipe from America's Favorite Grill'n Show and More! Episode recipes include Pineapple Loin, RV Site Delight, Malibu Sunrise and Cherry Almond Dessert. Download the E-Book by visiting the Mad Dog & Merrill Online Store and become a Lifetime Member of the Mad Dog & Merrill® Grill'n Club to gain FREE access to all episode E-Books.
Mad Dog & Merrill® only endorse the highest quality of products and services.
What kind of grills do Mad Dog & Merrill® use? Our favorite grills include Pit Boss Pellet Grills and Louisiana Grills. Where can the products used on the Midwest Grill'n show be found? Cherry De-Lite from Country Ovens, Sun Drop Soda, Awesome Shrimp, and Wisconsin Potatoes. Help us thank our sponsors by patronizing their local business, such as Shooting Star Casino. Produced by Lashbro Visual Communications. Ingredients
Directions
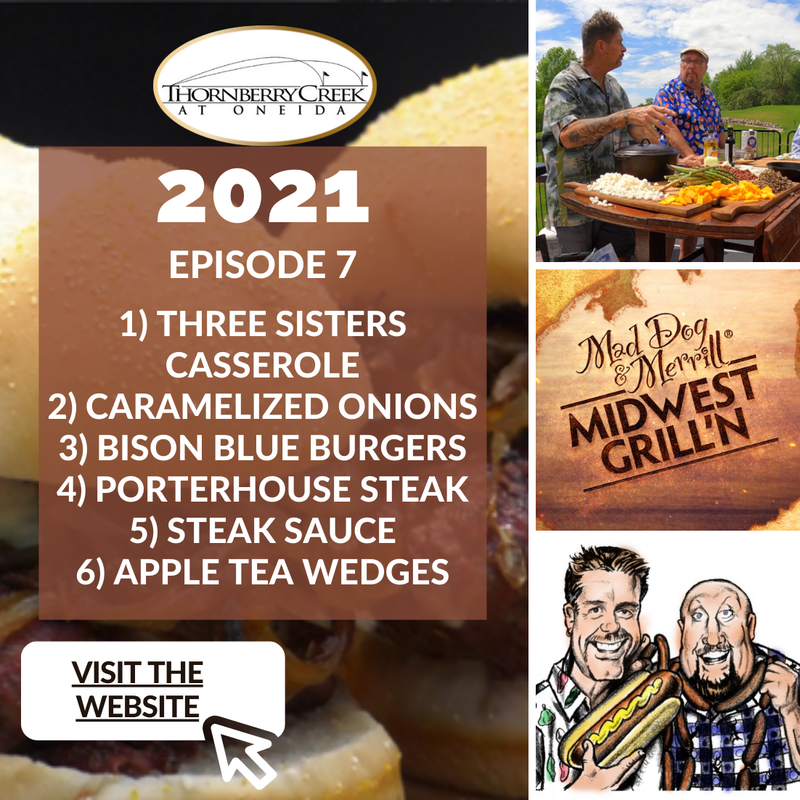
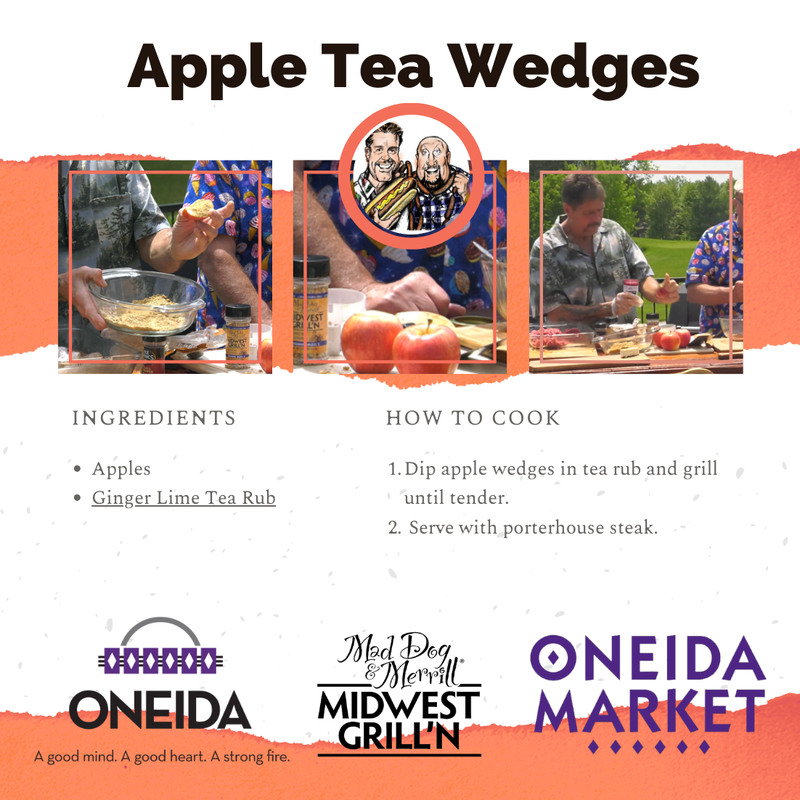
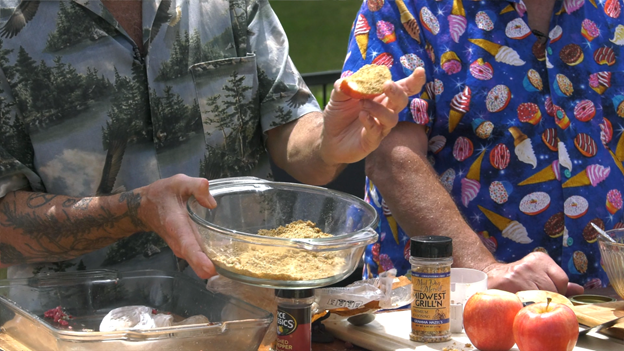
Apple Tea Wedges is a Mad Dog & Merrill® Original Recipe from Episode Seven of the 2021 Season of the Midwest Grill'n Show. Watch "Thornberry" for this great recipe from America's Favorite Grill'n Show and More! Episode recipes include Three Sister's Casserole, Caramelized Onions, Bison Blue Burgers, Porterhouse Steak, Steak Sauce and Apple Tea Wedges. Download the E-Book by visiting the Mad Dog & Merrill Online Store and become a Lifetime Member of the Mad Dog & Merrill® Grill'n Club to gain FREE access to all episode E-Books.
Mad Dog & Merrill® only endorse the highest quality of products and services.
What kind of grills do Mad Dog & Merrill® use? Our favorite grills include Pit Boss Pellet Grills and Louisiana Grills. Where can the products used on the Midwest Grill'n show be found? Cherry De-Lite from Country Ovens, Sun Drop Soda, Awesome Shrimp, and Wisconsin Potatoes. Help us thank our sponsors by patronizing their local business, such as Shooting Star Casino. Produced by Lashbro Visual Communications. |
RecipesInternationally recognized and self-proclaimed "Grillologists," Mad Dog & Merrill®, entertain and educate thousands of backyard enthusiasts every year with the finer points of grilling on America’s Favorite Grill’n Show. They want nothing more than to make everyone a better griller and have a ton of fun doing it! 

Archives
July 2024
Categories
All
|


 RSS Feed